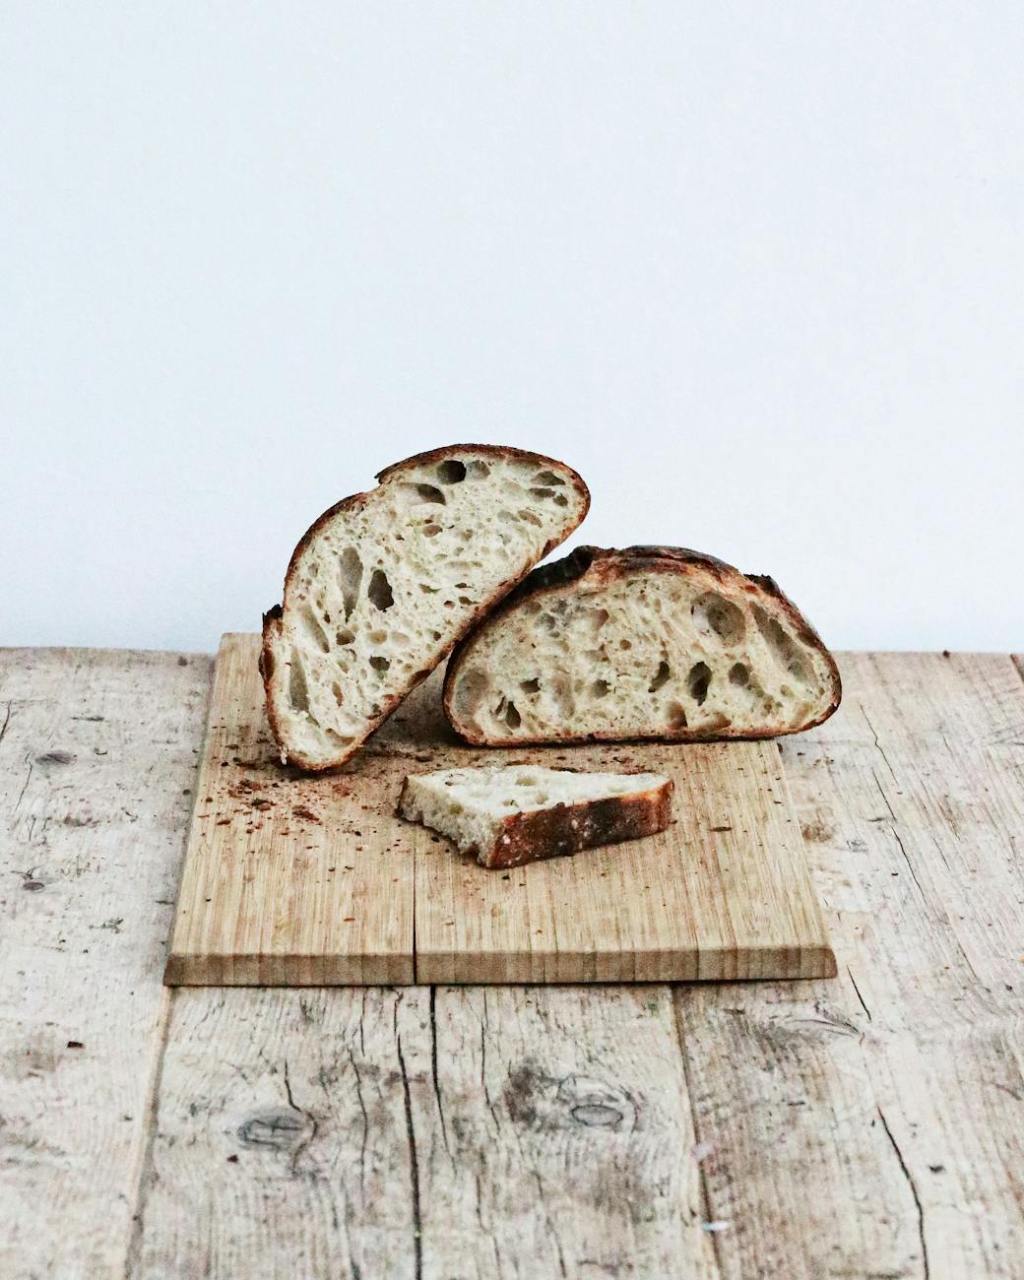
During the pandemic many people began testing out hobbies like gardening, canning, and sourdough. People found it difficult to find bread on the shelves, much less the commercial yeast needed to bake their own. So, sourdough made its resurgence in popularity. However, these tiny living organisms have stuck around and continued to gain popularity. They are also a great science lesson for kids!
Starting your own sourdough as well as the process of caring for it can open up a lot of science related questions. It’s a great opportunity to explore concepts of these single celled organisms, what they need to survive, and how their environment affects their growth. So, why not bring it into the classroom for learning?
Whenever I introduce a new topic to my students, I like to start by building background knowledge first before going into the activity. Use the information below to give a little history and background to what exactly your student will be looking at in this activity.
History of Bread
Man’s use of bread dates back to prehistoric times. Museums contain ancient mealing stones, paintings, and wood carvings depicting the making of bread in various ancient cultures. Scientists have even found preserved loaves of burnt bread dating back to these times.
What kind of bread did ancient people eat? Many forms of grains were used including wheat, barley, and corn. What was used varied depending on the area and the culture of the people. Unleavened flatbread was a staple for many cultures until wild yeast was used to leaven bread into a light, fluffy dough. Many sources claim that the use of wild yeast to leaven bread began in ancient Egypt.
In 1857, French scientist, Louis Pasteur, discovered these tiny living organisms while helping a student solve a problem he had come across. These tiny organisms were yeast and he deducted that they were responsible for the fermentation process.
We are going to use the basis of these practices to start our own sourdough starter and watch as it develops over time. Wild yeast from your environment should enter the mixture of flour and water and being to grow as it feeds on the starch. As you continue to care for your starter, you will notice many things. You may want to keep a notebook to track notes on things like smell, height of starter in the jar before/after feedings, and the presence of air bubbles.
What’s In Sourdough?

Before we make our own starter, it’s important to know exactly what it is. Sourdough starters contain a few things: yeast, bacteria, flour, and water. The flour you add to your jar provides a starch that will feed the yeast and bacteria and water allows them to stay hydrated. Yeast are single celled living organisms. They can find their way to your bread starter through the environment (the air, your skin, etc.) and feed on the starches present. The yeast will produce carbon dioxide gases which causes bubbles in your starter.
Bacteria is another kind of single celled organism that you can usually find in your starter as well. Where do they come from? Much like yeast, they find their way in through the environment your starter is in. Don’t worry though, as your yeast matures and lactic acid and acetic acid are produced any worrisome bacteria are usually destroyed.
Why Is It Called Sour?
The word sour comes from the sour flavor and unique smell of sourdough. What makes it sour? Your mixture of flour and water became home to local yeast and bacteria. The bacteria and yeast eat the starch, release gases, and produce acid.
Having growing amounts of acid will lower the pH of the starter. Most bacteria cannot live in an environment with a low pH and will be unable to survive. This is good news when it comes to using this starter to make bread to eat!
Don’t worry, the heat from the baking process will also rid the dough of any bacteria left. The acid produced by yeast isn’t only great for killing off unwanted bacteria, but it’s also what gives sourdough starter it’s tangy scent and gives your bread it’s unique flavor.
Why Does Sourdough Bubble Up and Grow?
As you feed your starter regularly, you’ll see it begin to produce gas bubbles and fill up your jar. After several hours the bubbles will disappear and the starter will slowly fall back down in the jar. Why do you think this happens?
This is a good place to have a conversation with your student and let them do some critical thinking. They can use what they know about sourdough starter so far. The mixture of flour and water is home to yeast and bacteria. These single celled organisms feed on the starches in the flour and release acids and gas.
Hopefully, they can piece it together and come to the answer on their own. If not, guide them to understand that the gas bubbles are what they are seeing. These bubbles are what make the starter rise and help your bread be fluffy. These bubbles are your sign that your starter is healthy and active!
Steps to Make Your Own Sourdough Starter
These are the steps to make your own sourdough starter and note what you observe.
Materials:
- Whole Wheat Flour
- Baking Flour (Do not use bleached flour)
- Water (Don’t use chlorinated water from tap. Well water should be okay. You can’t go wrong with bottled spring water.)
- Quart Sized Glass Jar
- Coffee Filter
- Rubber Band
Steps:
- Day 1: Set out your clean quart sized mason jar. Add 1/2 cup whole wheat flour and 1/4 cup of water. Stir until mixed well. Place the coffee filter over the top of the jar and use the rubber band to secure it. This will keep any flies or other particles from getting in. Don’t worry, yeast will still develop.
- You’ll want to keep this in a warm spot such as over your refrigerator or next to a warm window. The ideal temperature is somewhere between 70 to 80 degrees Fahrenheit. Let it sit for 24 hours before you do anything to it.
- Day 2: Time to make observations! Grab your notebook and write down what you notice. Do you see any bubbles? How does it smell? Hopefully you do see bubbles because that will mean there is activity! Don’t panic if you don’t see anything. It’s been 24 hours. It’s possible that the feeding has already happened and the bubbles have gone away at this point.
- If you see a liquid on top that smells sort of like nail polish remover, that is the “hooch”. It’s a sign that your yeast is hungry. Just pour off the liquid and leave the starter in the jar.
- Discard half of your starter and leave the other half in the jar. (Do not use the discard from the first 7 or so days until your starter is healthy and active.) Add in 1 cup of baking flour and 1/2 cup of water. Stir until mixed thoroughly and cover with coffee filter. Let it sit in a warm place for another 24 hours. Tip: You can mark the outside of your jar to note where the starter is sitting. This way you can easily tell how much it is rising.
- Day 3: Make your observations on what you notice as far as bubbles or smell. (If your starter gets to the point of rising high in your jar, you may want to use a graph to track it’s height each hour and note other things you notice.) Now, it’s time for a feeding! Keep 1/2 cup of starter and discard the rest. To this 1/2 cup of starter add 1 cup of baking flour and 1/2 cup of water. Stir it well, mark it’s height on the jar, and let it sit in a warm place for 24 more hours.
- Days 4-6: Repeat steps from Day 3.
- Day 7: Somewhere around this time you should have an active starter. Now, many people get caught up on the number of days and toss theirs if it’s not bubbling or active yet. I’ve done a lot with sourdough over the years and have had a few different starters. One thing I learned is that you can’t always put time limits on a living thing. Just watch yours and let it work on its own time. When your starter has a pleasant smell (not like nail polish remover), bubbles up very well hours after feeding, and doubles in size before falling back down, you have done your job!
- NOTE:
- Your starter will smell tangy and kind of sour, but it shouldn’t be an unbearable smell. You should not see mold or have discoloration. I always think a healthy sourdough starter looks a lot like pancake batter.
- If you notice that your starter isn’t bubbling well and forms a lot of hooch before the 24 hours is up, add another feeding. I’ve noticed that when starters are struggling, they sometimes perk up and do better when they receive more food.
- If you start with baking instead of whole wheat your starter may take a little longer to get going. That’s because whole wheat flour tends to have a higher presence of yeast.
- If your home stays on the cooler side, your starter will be slower to act. The metabolism of the yeast slows down in cooler environments.
- NOTE:

Questions to Discuss:
- What do you see? What do you notice?
- How do yeast find their way into your sourdough starter?
- Why are there bubbles in your sourdough starter?
- Why do you think the sourdough starter grows in the jar after we add the flour and water?
- Why do the bubbles disappear and the starter fall back down in the jar?
- Why is sourdough slower to bubble up when the air is cold?
- Why is it faster when it is warm? What will happen to the yeast if it’s too warm?
- If you notice a smell much like that of nail polish remover and see a layer of liquid on top, discuss what this could be. Think about what your stomach does when you are very hungry and haven’t eaten in a while.
I hope you enjoyed this information about the science of sourdough and find it helpful. Remember, there are lots of ways to incorporate this into your science curriculum (especially grades 6-8). This fits right into science standards for these grades.
Resources:
- “Louis Pasteur – Pasteurization.” Lemelson-MIT, lemelson.mit.edu/resources/louis-pasteur. Accessed 20 July 2023.
These directions for starting sourdough are pretty standard and are for the purpose of the observation of yeast. There are a lot of resources online for using sourdough starter and troubleshooting problems with sourdough starter if you choose to explore this further. (It can be very fun and addictive to explore the world of sourdough!)

